Creating Your First 3D Model
Overview: The 3D Editor in Lumbernatics lets you build realistic, interactive models for your woodworking projects. With the ability to pan, rotate, and view from any angle, you gain a full spatial understanding of how your pieces come together.Step-by-Step Guide
Selecting the 3D Editor: From the main dashboard, click on the 3D Editor icon. This opens a new workspace with a 3D view of your design area. Starting with a Build Example: Lumbernatics provides build examples for common projects like picture frames, garden planters, and end tables. Click on one of these example projects to load a starting template. Explore the model by panning, rotating, and zooming. Use the mouse or on-screen controls to see your project from all angles.Customizing Your Model:
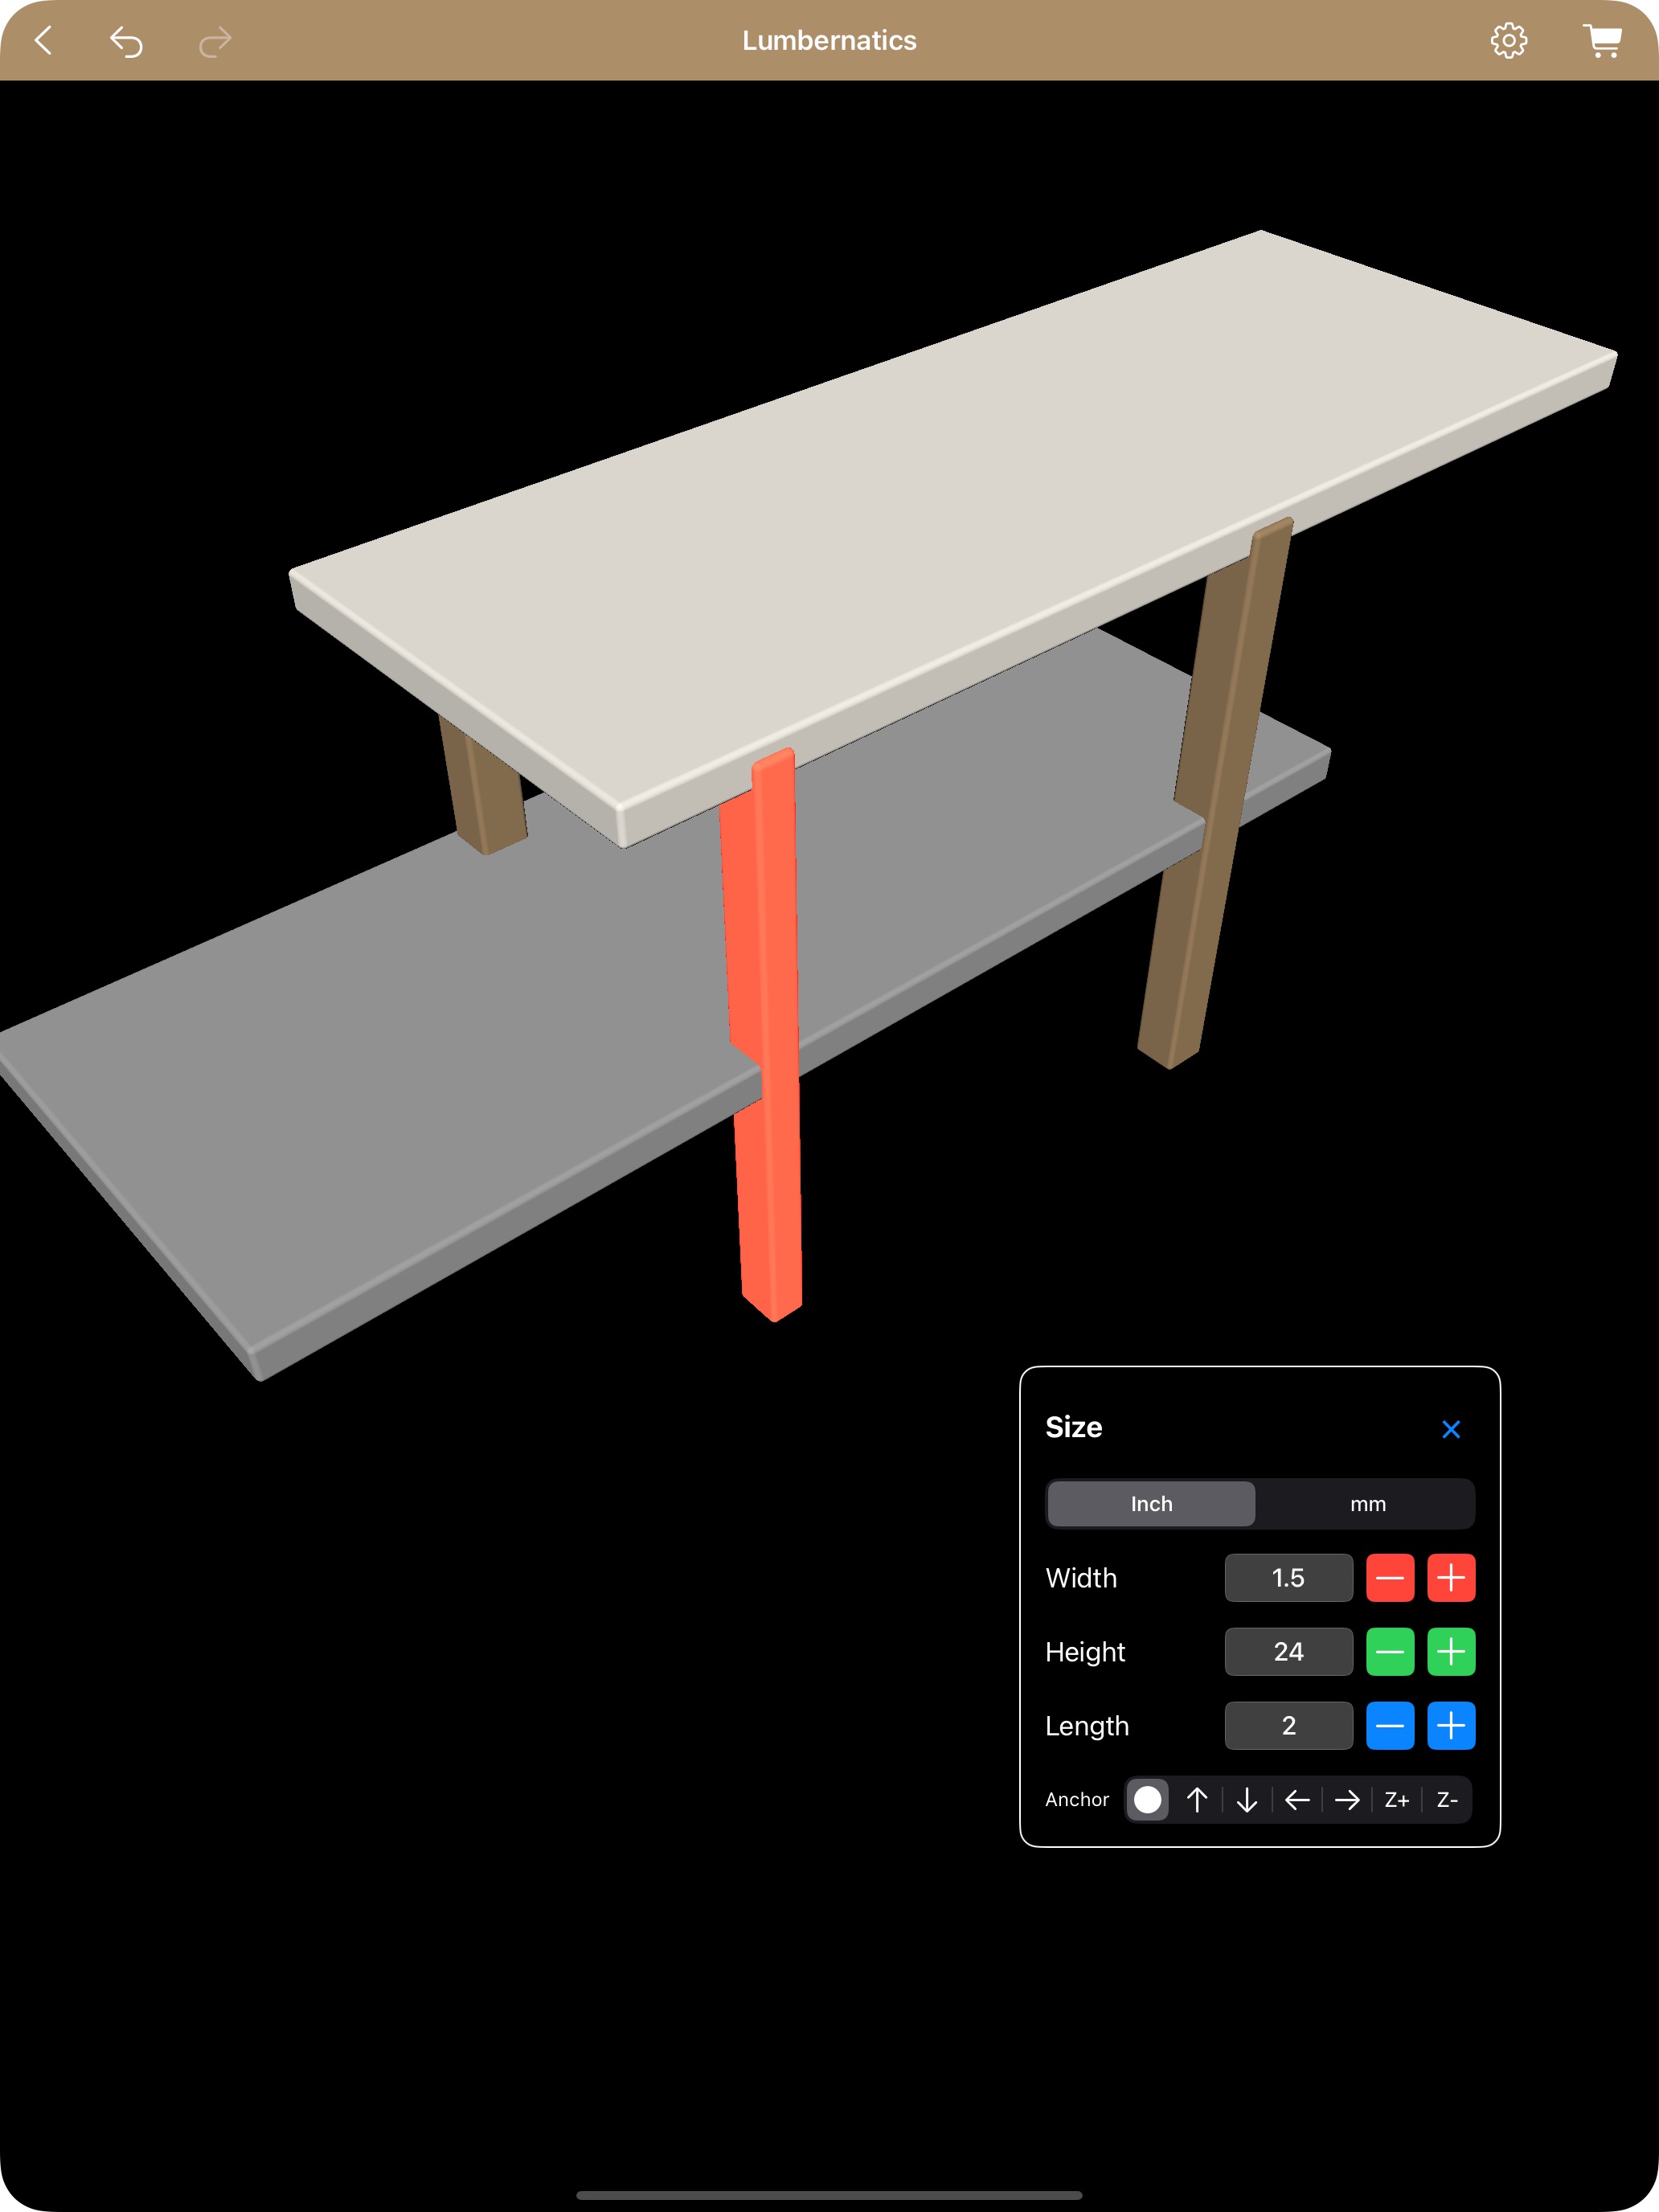
Edit Dimensions: Adjust the size and proportions of the elements. Input custom dimensions if you’re working with special materials. Manipulate Pieces: Select individual pieces of your model. Move them, duplicate them (using quick duplication), or align them with the built-in alignment tools. Visualize in Real Time: As you edit, view your changes in real time. This is invaluable for understanding how every piece fits within the overall build.Exporting Your Design:
Once satisfied with your 3D model, use the export options to save your design as an image or to print a detailed lumber list. The lumber list will include all components with their dimensions—perfect for material shopping and accurate planning. By following these steps, you’ll confidently create realistic 3D models that bring your woodworking projects to life.