Custom Sizes & Material Planning
Setting Custom Dimensions in Lumbernatics
Locating and Using the Size Input Fields
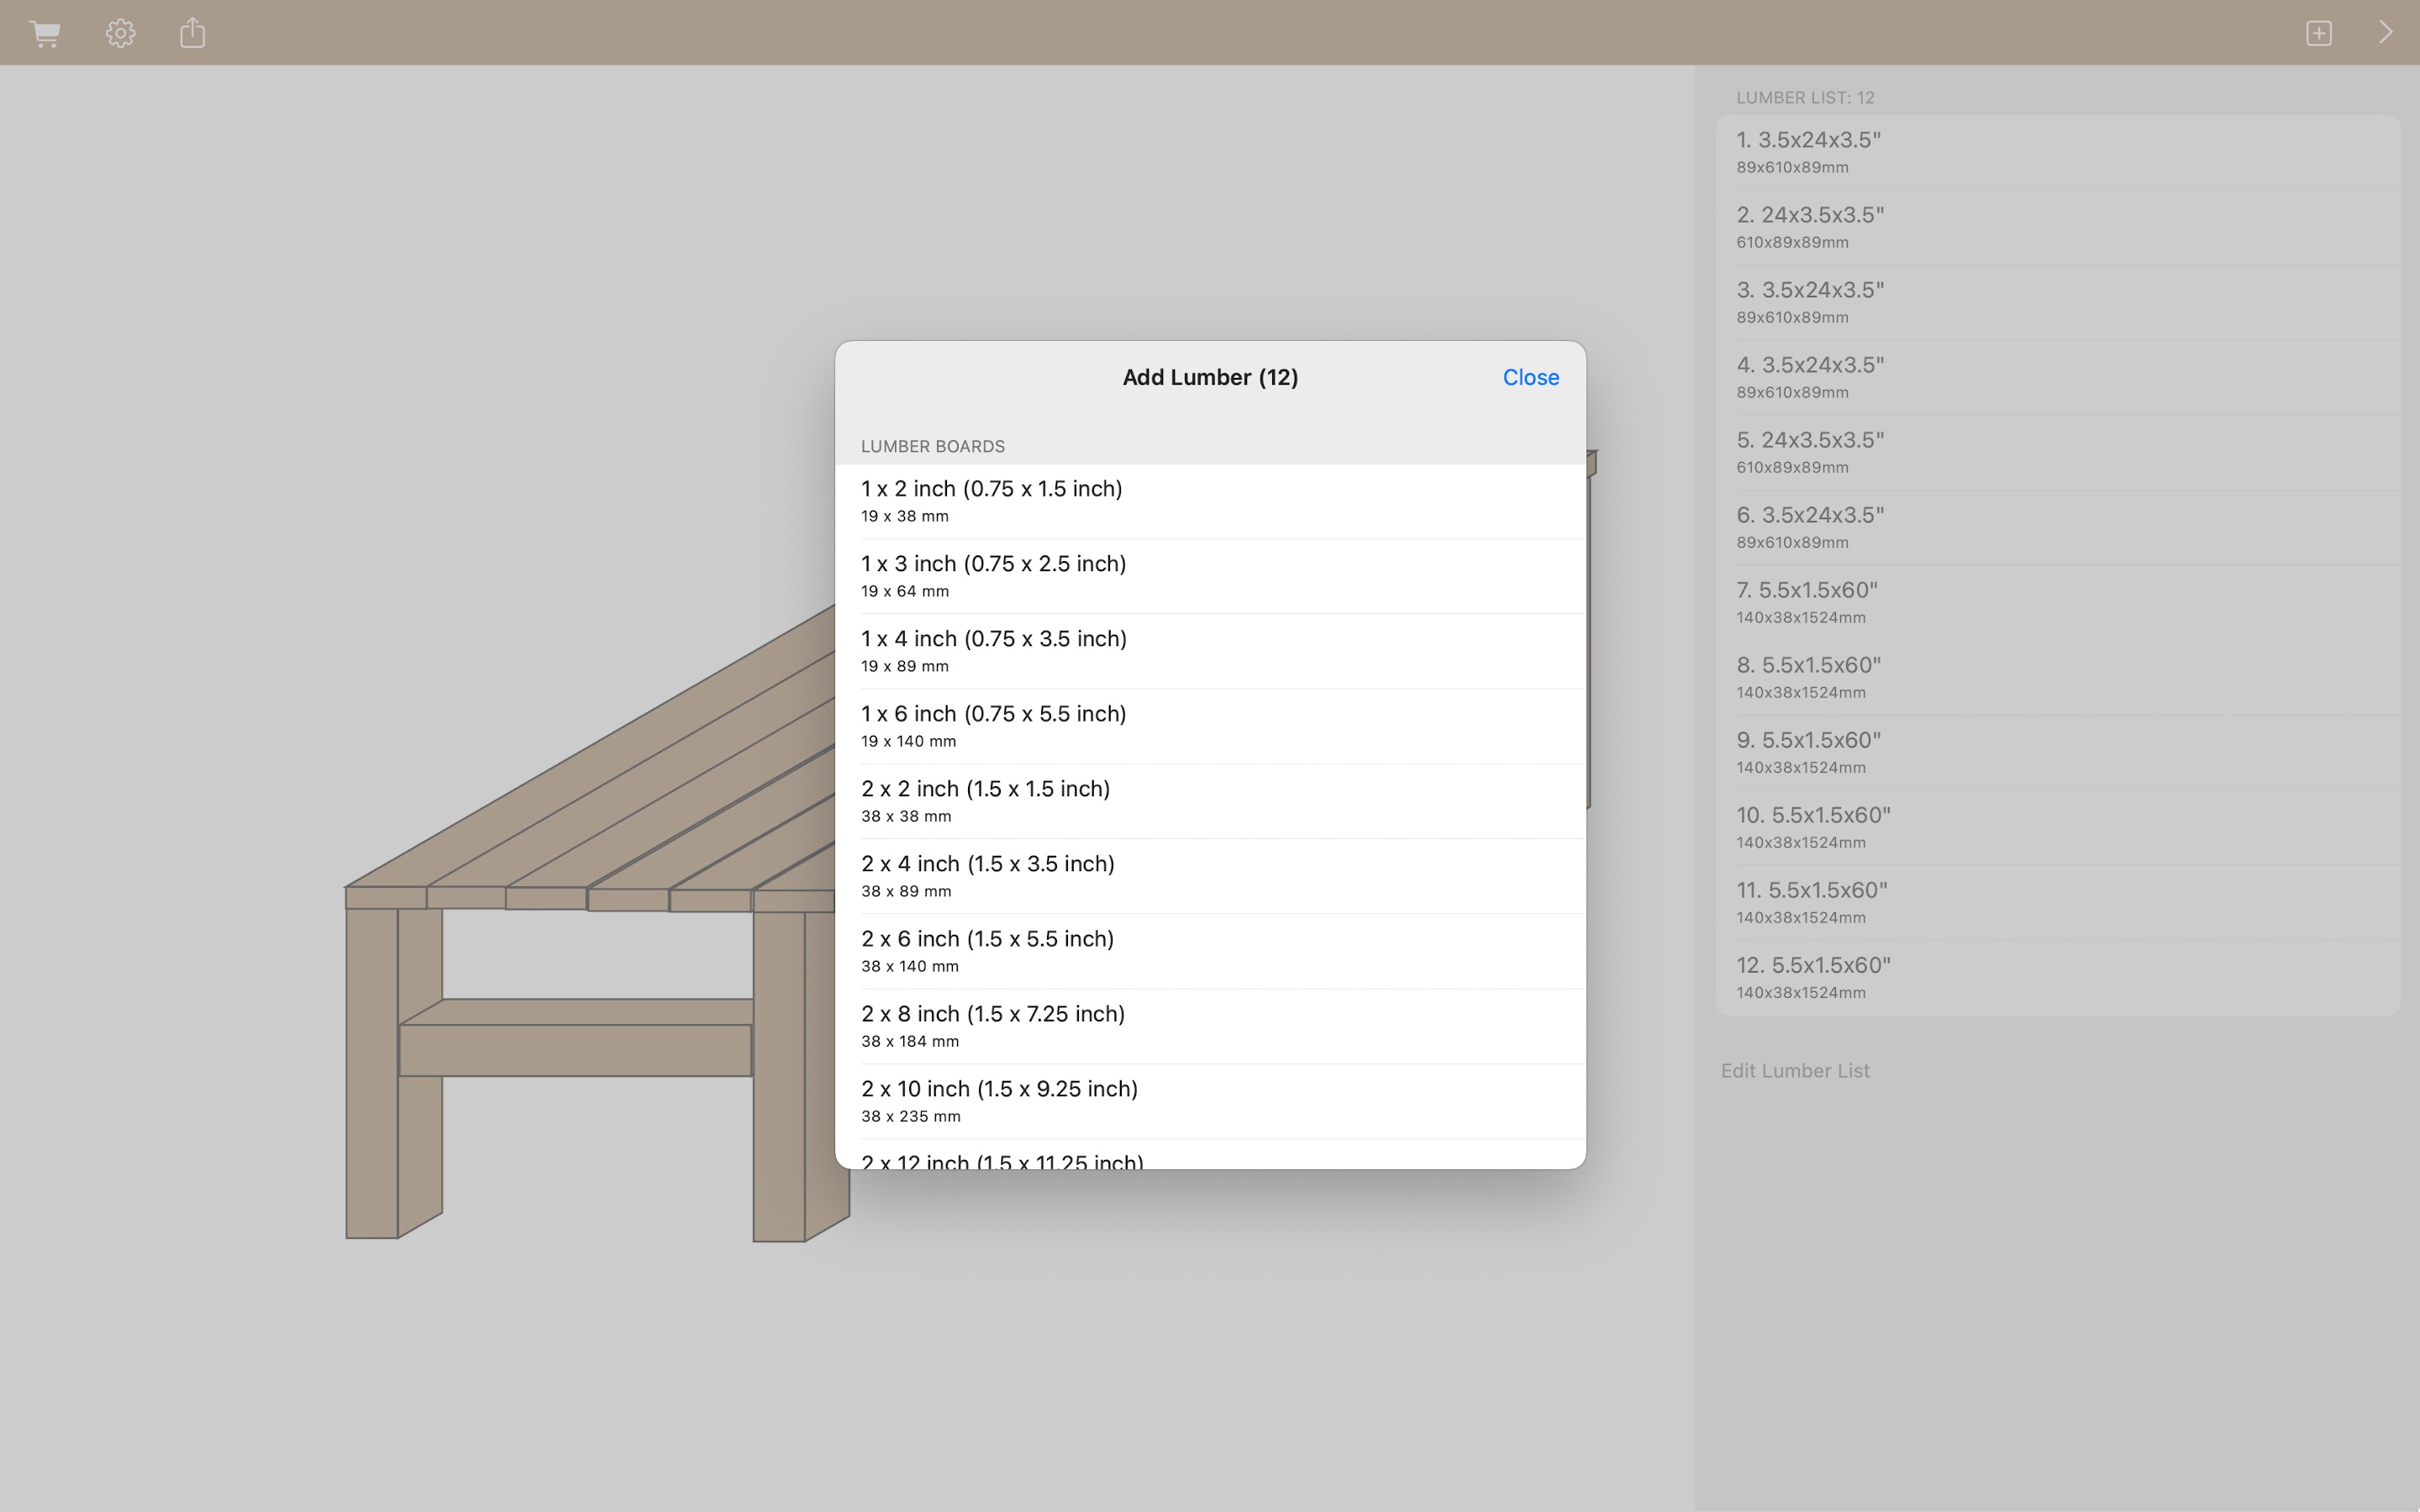
On mobile devices (iPhone/iPad) in the 3D Editor: To adjust dimensions, long-press on any lumber piece on the screen. A context menu will appear; select the 'Resize' option. From here, you can input your custom measurements. You will also have the option to adjust the units between imperial (e.g., inches, feet) and metric (e.g., millimeters, centimeters) to match your preference or project requirements. On Mac in the 3D Editor: To adjust dimensions, right-click on any lumber piece on the screen. A context menu will appear; select the 'Resize' option. From here, you can input your custom measurements and adjust the units (inch/mm) as needed. In the 3D Editor (Multi-select): You can select multiple pieces of lumber and change their dimensions simultaneously. Once multiple pieces are selected, the resize options will typically appear in a sidebar or property panel, allowing you to apply a uniform change to all selected items, or adjust individual dimensions for each. In the 2D Editor: To adjust the size of a single lumber piece, long-press on it to bring up the context menu, then select 'Size'. For quickly aligning multiple lumber pieces by different dimensions and positions, select multiple pieces of lumber, then long-press on one of the selected pieces and choose 'Align & Layout'. This feature allows you to efficiently arrange and organize multiple components.