Designing with the 2D Isometric Editor
Overview: For those moments when you want to quickly sketch an idea or layout your project without the full-depth of 3D modeling, the 2D isometric editor provides a simplified yet effective solution. This editor maintains a sense of depth through isometric projection without the extra complexity.Step-by-Step Guide
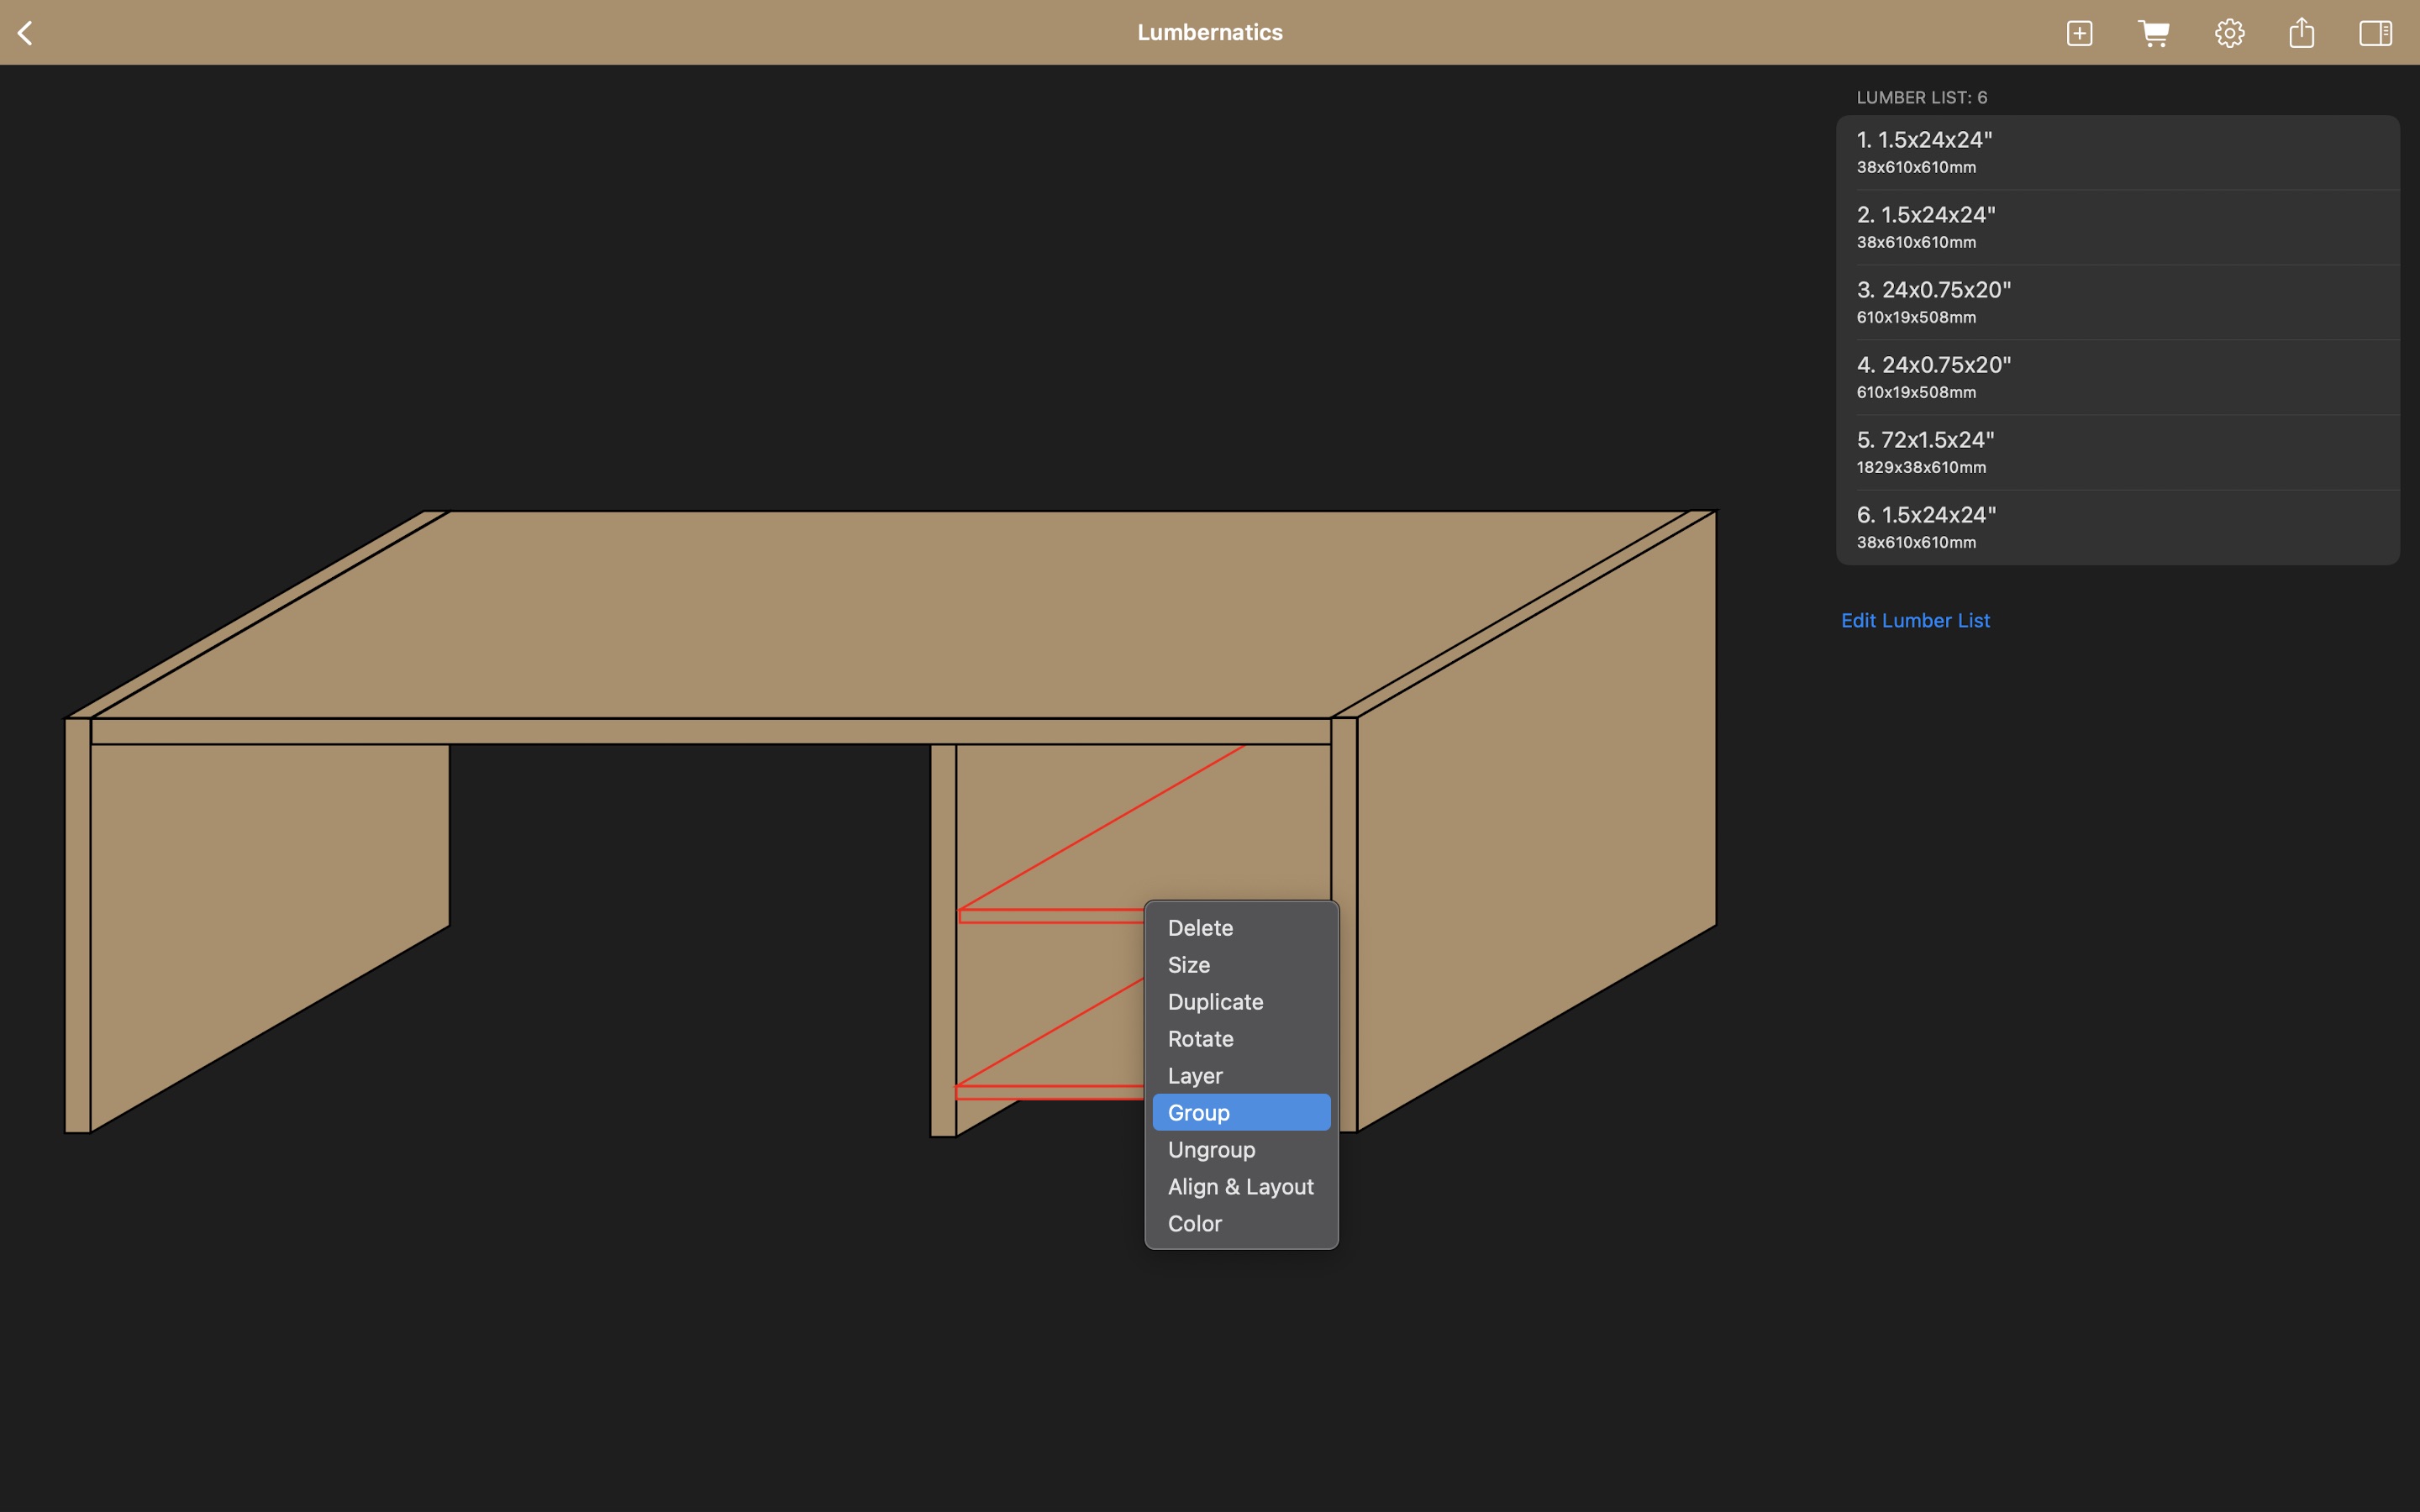
Launching the 2D Isometric Editor: From the Lumbernatics main interface, choose the 2D Isometric Editor. This editor opens in a mode that is optimal for fast sketches and simpler plans.Creating Your Initial Sketch:
Begin by outlining the basic shape and structure of your project. Since this editor strips away some of the complexity, focus on getting the core design right.Adding Custom Sizes:
Input custom dimensions directly into your design. This is key if you’re tailoring your sketch to specific material sizes. Adjust common lumber sizes or enter your own measurements, ensuring that your design is both accurate and customized to your needs. Quick Duplication and Arrangement: Use the quick duplication tool to replicate design components efficiently—ideal when dealing with multiple identical pieces (like table legs or fence posts). Apply the alignment tools to maintain consistent spacing and dimensions between pieces. This helps achieve both precision and an aesthetically pleasing layout.Finalizing Your Plan:
Review your plan in the isometric view. Make any fine adjustments needed to ensure that your concept is clear and efficient. Export your sketch as an image or print out a copy to keep on hand for your building process. This workflow allows you to quickly nail down an initial design, which you can later elaborate into a full 3D model if needed.